WINDOWS VPN CLIENT
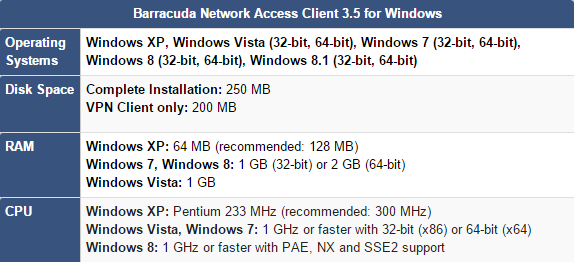
Your workstation must meet the following minimum requirements to run the VPN Client for Windows (32- and 64-bit):
How to Install the Barracuda VPN Client for Microsoft Windows 32- and 64-bit:
- 1. Download the Barracuda VPN Client installation file and save to your computer.
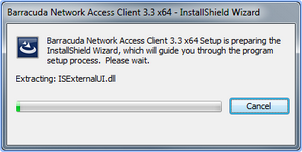
- 2. Right-click on setup.exe and select "Run as Administrator" to start the installation routine. The InstallShield Wizard then starts to prepare the installation files.
- 3. After the installation files are prepared, a window opens and advises you to close all running programs. After you close all running programs, click Next. If you do not close all running programs, you might be prompted to close certain programs later during the installation.

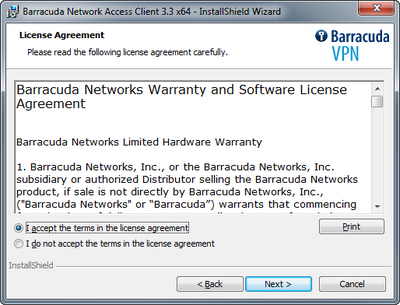
- 4. After a few seconds, you are presented with the Barracuda Networks Warranty and Software License Agreement.
Select I accept the terms in the license agreement. You must accept the agreement to continue with the installation.
- 5. The next screen is only to confirm that the installation itself is about to be executed now.

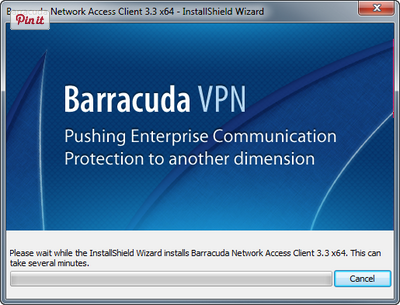
- 6. Wait until the progress bar reaches 100%, indicating that the installation is complete. During this subprocess, the system's network connectivity will drop out for a few moments.
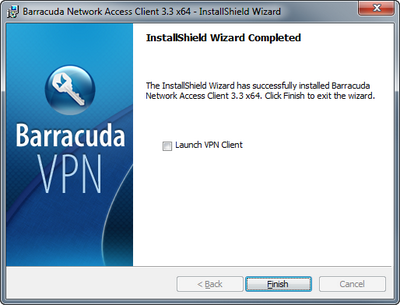
- The wizard tells you when the installation has been completed. To start the VPN Client when you click Finish, select the Launch VPN Client check box.
The Barracuda VPN client has been preconfigured for Windows:
1. Profile: LLCC VPN (preset)
2. Username: llcc\your user name (ex: llcc\jdoe3249)
3. Password: Enter your LLCC password
4. Click the Connect button
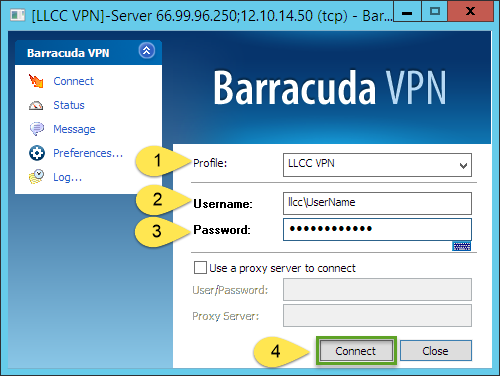
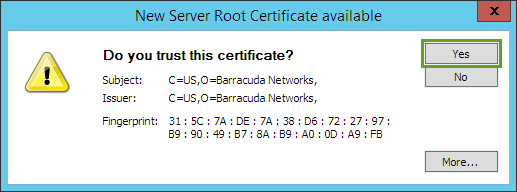
5. Click Yes to accept the certificate